Just wanted to share a quick walkthrough of one of the cool security-focused features in Veeam V13 – SAML integration for both the web console and thick client, plus the new granular RBAC setup. I’ve been testing this in my home lab and thought I’d jot down the steps and a few gotchas I ran into.
SAML Setup – Let’s Get Started
First things first, you will need the thick client installed. Just head to the web portal of your VBR console, click the download link, and install the Veeam console.
Once that’s done, open the thick client and go to:
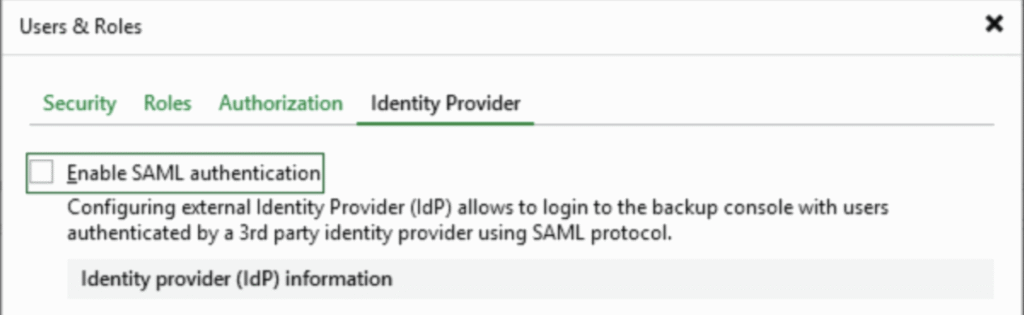
Main Menu → Users & Roles → Identity Provider
Tick the Enable SAML checkbox.
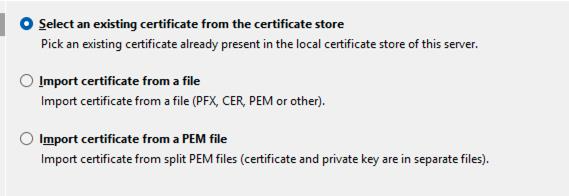
Then hit Install to install the certificate. I used a self-signed cert since it’s just my lab setup. Make sure you pick the right one—I accidentally chose a cert linked to my FQDN, but my appliance couldn’t resolve it, which caused a bit of a headache.

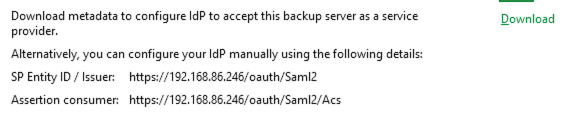
Service Provider Info
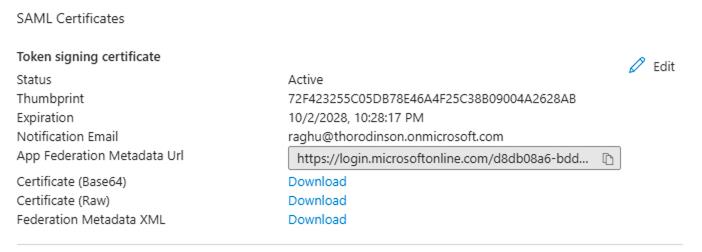
- Under Service Provider (SP) Information, download the IdP metadata file.
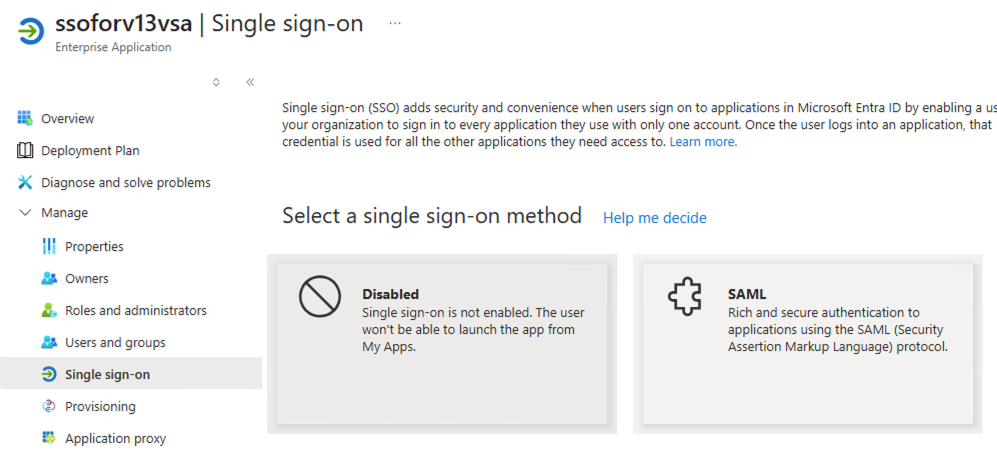
- We will be using Entra ID for SSO. Here’s how I set it up:
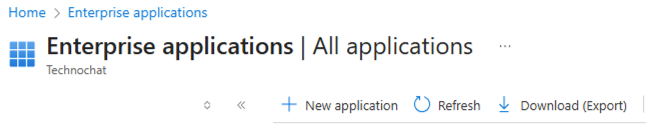
- Go to Enterprise Applications in Azure.
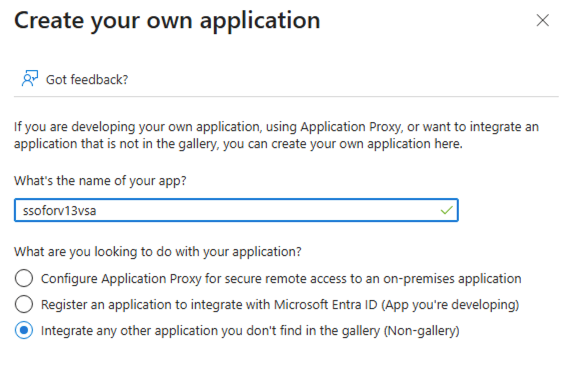
- Click “Create your own application”, give it a name, and choose “Integrate any other application you don’t find in the gallery.”
- Now under the enterprise application, go to Single Sign-on and select SAML
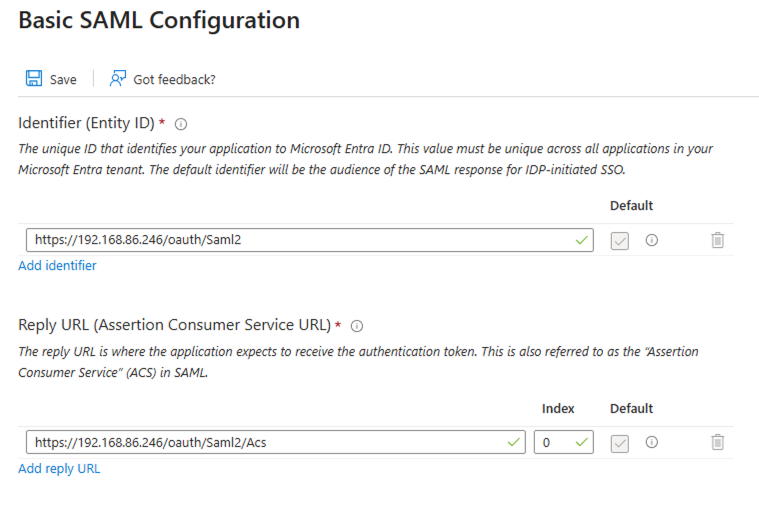
- Upload the metadata file you got from Veeam.
- This will auto-fill the Entity ID and Reply URL in the Basic SAML config.
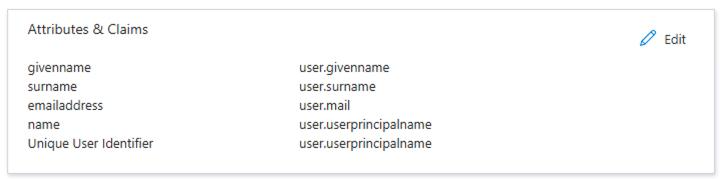
- I left the claims section as-is. You probably don’t need all the claims, but for now, I’m rolling with the defaults.
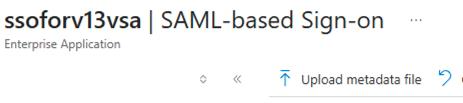
- Next, download the Federation Metadata XML.
Back in Veeam:
Users and Roles → Identity Provider → Browse → Upload the metadata file
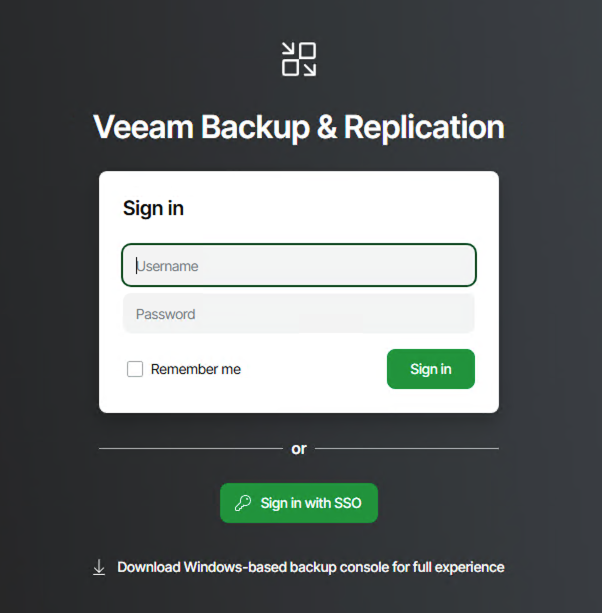
And that’s it! SAML is now configured. You’ll see the Single Sign-On button in both the web console and thick client. Just remember to add your SAML users under External Users.
RBAC in V13 – Let’s Dive In
Now that SSO is sorted, let’s check out the new RBAC features.
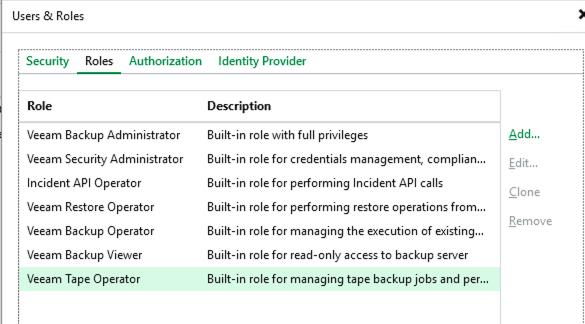
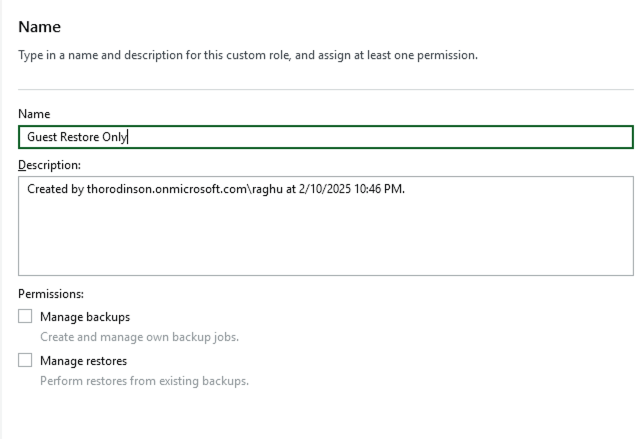
In the same Users and Roles wizard, you can create custom roles. There are a bunch of predefined ones, but I made a new one for this test.
Permissions are grouped under:
- Manage Backup
- Manage Restore
I selected both so I could explore all the options.
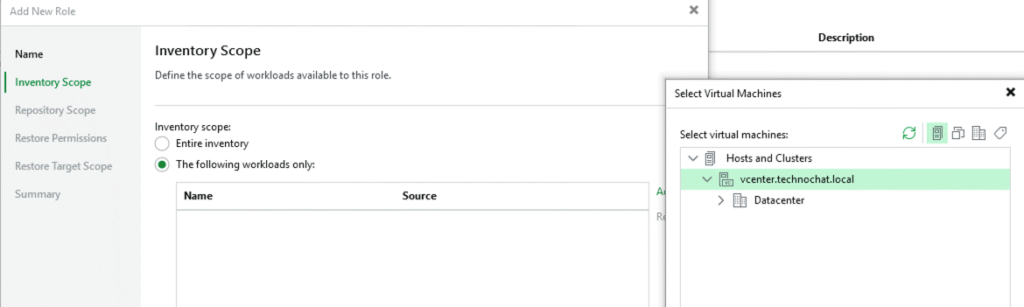
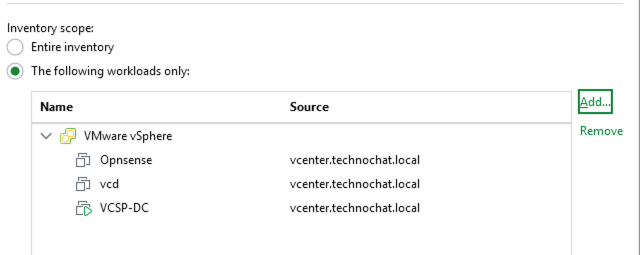
Inventory Scope
You can define backup permissions for the entire inventory or just specific workloads -even down to individual VMs. Pretty slick.
Repository Scope
Choose which repositories the user can access during backup.

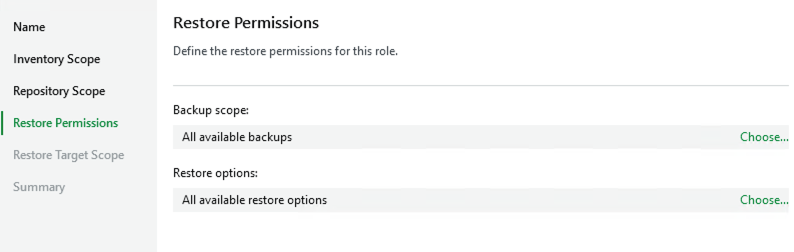
Restore Permissions
Decide whether users can restore all backups or only the ones they created. You can also define which restore points they can use.
Restore Type & Target Scope
This one’s my favourite. You can restrict restore types and target scope – like limiting restores to production only. This helps prevent unauthorised data restores and supports a zero-trust model with least privilege access.
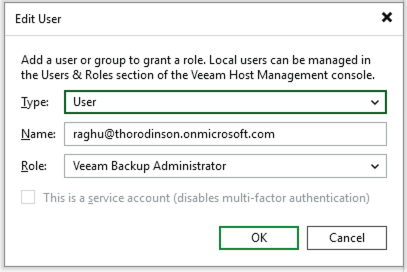
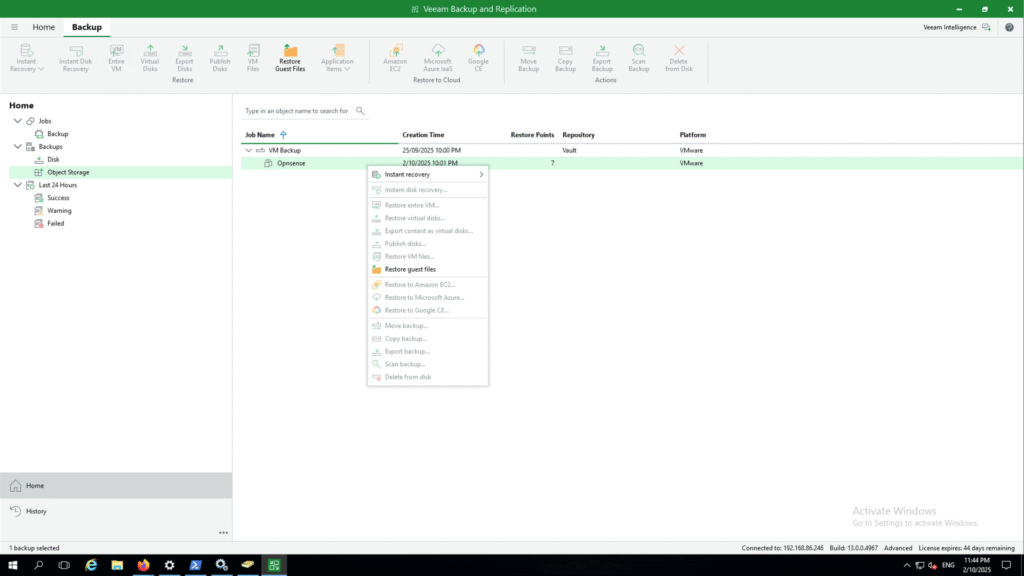
For this test, I created a user called guestrestoreonly and gave them permission to perform Guest File Restores only.

SSO Troubleshooting
When I tried logging in, I hit an error. Turns out I forgot to assign the user to the SSO app in Azure.
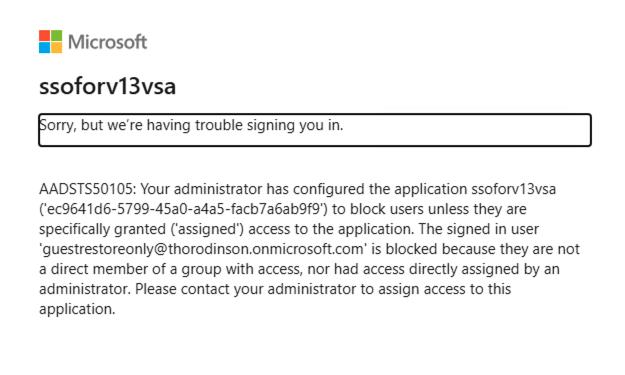
To fix it:
Azure → Enterprise Application (we created above)→ Users and Groups → Add my RBAC user under the app to assign permissions
Once that’s done, login works perfectly—and the user only sees what they’re allowed to: Guest File Restore for the scoped VM.
Wrap-Up
Veeam V13’s SAML and RBAC updates are a solid step forward for security and access control. Whether you’re running a lab or managing production, these features give you the flexibility to lock things down properly.